

- Find a pair of old jeans. Perhaps you have an unsightly hole that is beyond mending like me?
- Cut two 10 inch squares around each pocket, with the pocket as close to the center of the square as possible.
- Cut out two 10 inch squares in fabric to match the denim squares.
- For the insulation layer, use two layers of thick wool batting cut to equal squares, or use several layers of denim squares cut from the jean legs.
- For each potholder, assemble the three square layers of denim, insulation, fabric. Align the insulation squares with the fabric square, with the wrong side of the fabric touching the insulation. Pin in place. Align this pinned piece with the denim square, with the right side of the denim touching the fabric piece. Pin in place.
- With a ½ inch seam allowance, stitch three sides of each pot holder.
- Turn inside out and press. Topstitch the remaining side closed. Repeat for other potholder.
Happy baking with your homemade potholders!

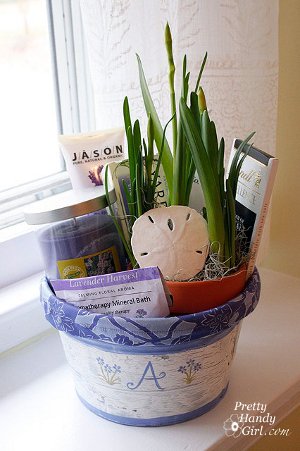
Fabric Bucket Liner
By: Brittany aka Pretty Handy Girl
Making basket liners is a breeze with this Fabric Bucket Liner tutorial from Brittany aka Pretty Handy Girl. With some colorful pants found at the thrift store, you can create a beautiful bucket liner, great for a housewarming gift or Mother's Day!
Materials:
- Pair of pants
- Bucket
- Disappearing fabric marker
- Scissors
- Sewing pins
- Sewing machine and basic supplies
Instructions:
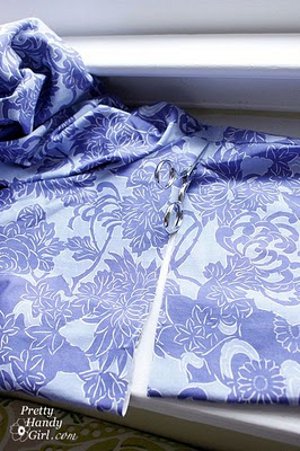
- Start by turning the pants inside out.
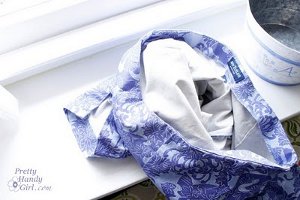
- Set the foot of the pants inside your bucket. And roll the waist outside the bucket. Move the pants up and down on the bucket until you have a snug fit.
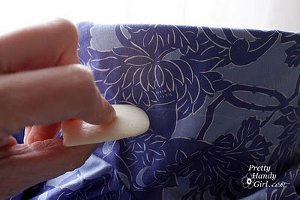
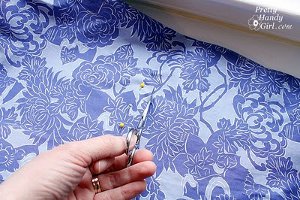
- Mark the outside edge of the pants with a disappearing fabric marker or an old sliver of soap. Make sure you allow an extra inch to roll under when you sew it.
- Remove the pants from the pail, take a big breath and cut the pants.
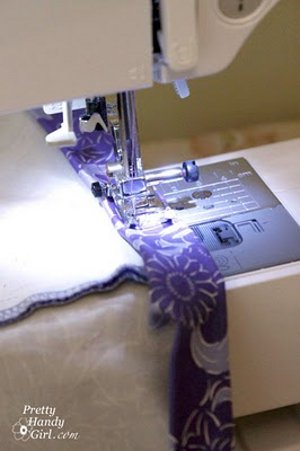
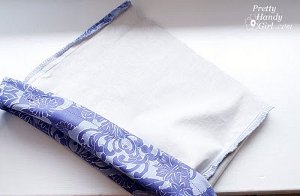
- Fold over the cut edge twice and sew it.
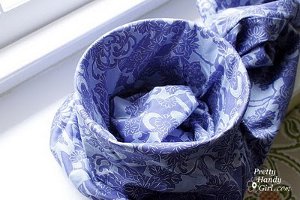
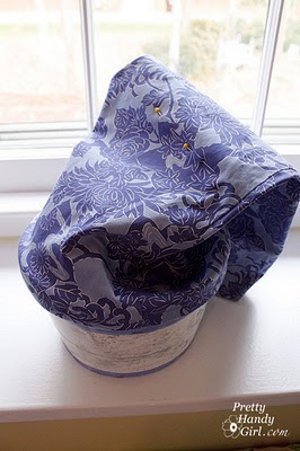
- Set the pant leg into the bucket again and roll the finished edge over the bucket until you are happy with how much cuff shows. Then use a pin to mark where the bottom of the bucket is.
- Remove your pants liner and use some more pins to mark a straight line across the leg.
- Cut just below the pins on the leg. Remember to allow at least 1/2″ seam allowance.
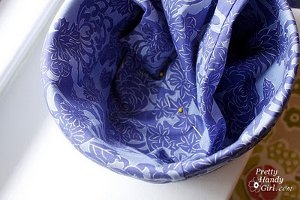
- Turn the pants inside out (right sides together) and stitch the bottom closed.
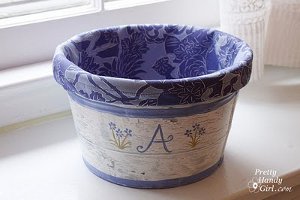
- Slip the liner back onto your bucket…
- …and smooth out the bottom of the liner into your bucket.
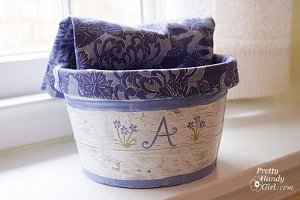
- That's it. You are done. Now fill up your bucket with a few of your favorite things.

Wire Jump Rings
By: Julianna Hudgins
Use a Beadalon Jump Ring Maker to create your own Wire Jump Rings from Julianna Hudgins. This is an easy-to-follow tutorial that will teach you the basics of jewelry making. Add jump rings to a variety of jewelry projects - you'll love the overall aesthetic.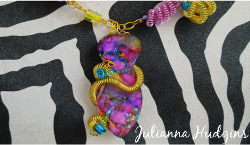
Materials:
- Beadalong Jump Ring Maker
- Artistic Wire – 18 gauge (color of your choice)
- Beadalon Flush Cutter
- Beadalon pliers: Chain Nose and Bent Chain Nose
Instructions:
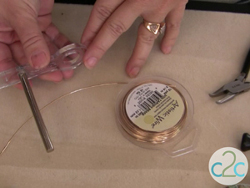
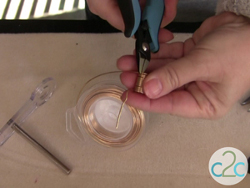
- The jump rings are made with 18 gauge wire and the Beadalon Jump Ring Maker. With a wide variety of mandrels available – ranging from 4mm to 16mm, round and oval shapes – you can create just the jump ring you need.
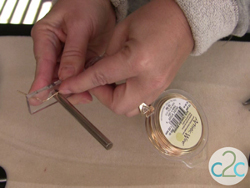
- Insert the end of the wire through the small hole in the base; fold the wire down to secure it.
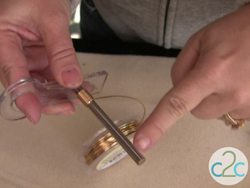
- Insert your finger into the large hole in the base and turn it clockwise, while steadily holding the mandrel and wire in the other hand. In this step, you can see that I have wound the wire about 10 times around the mandrel.
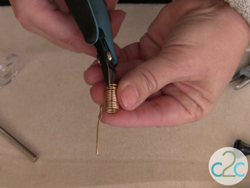
- Once the wire is coiled, remove it from the base and cut the coil from the wire spool with the Beadalon Flush Cutter.
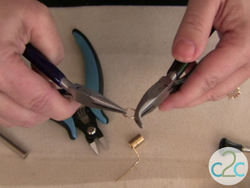
- Next cut the first few loops with the Flush cutter. These rings will now be cut from the coil but you can hold them in place for the next step.
- Turn the Flush cutter to the opposite side and cut the jump rings again just slightly to the side of your first cut.
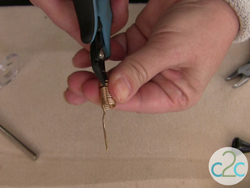
- Now you will have two straight-edge cuts on your jump rings so that they will fit perfectly together.
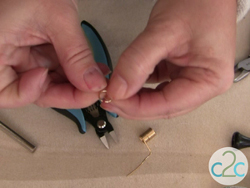
- Use your pliers to gently work the jump rings closed. You should hear and feel the two pieces gently rub together when you do this step.You can make the right sized jump rings in the colors and plating you choose – any time you want!
For a comprehensive video tutorial, check out How to Make Wire Jump Rings.

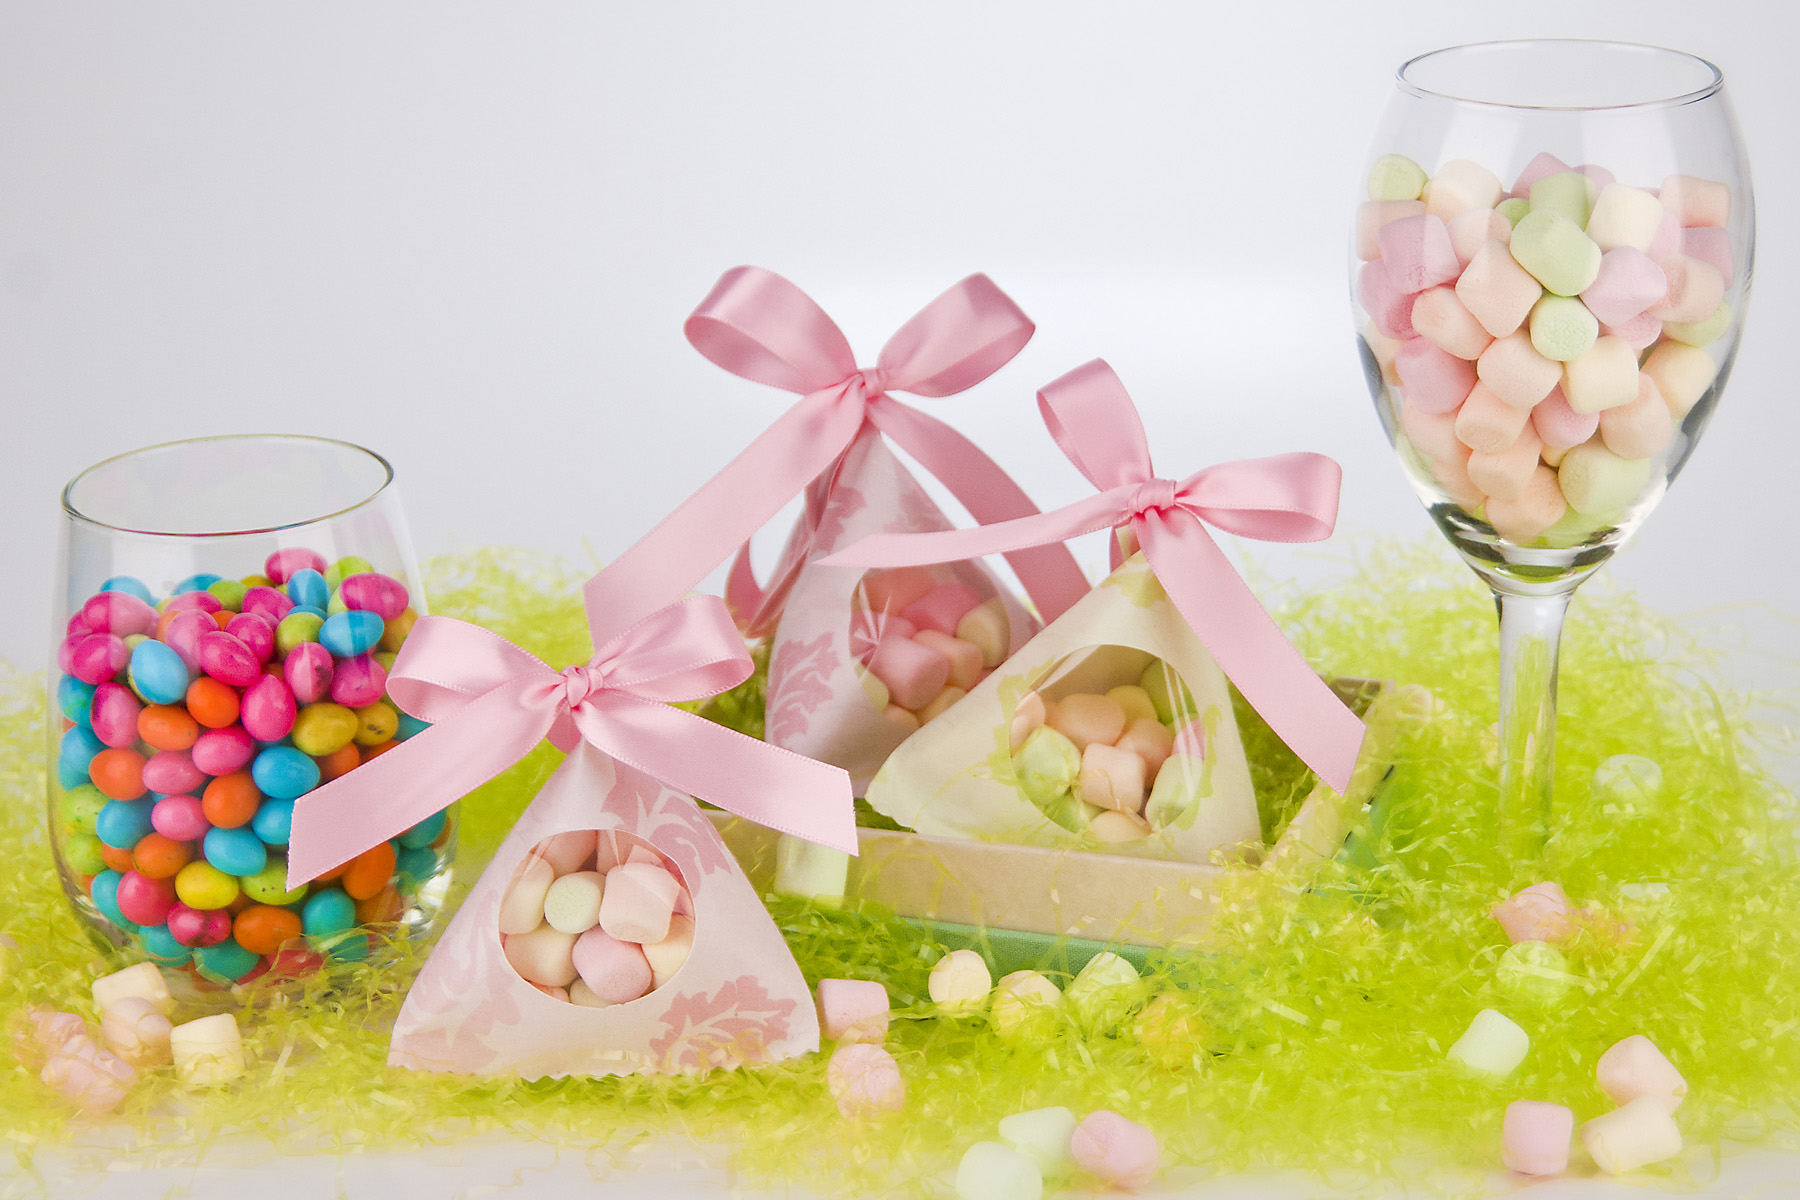
Easter Pyramid Candy Bag
By: Shiho Masuda
Make your own treat bags for Easter using this video tutorial. You can turn scrapbook paper into a cute Easter pyramid bag to hold candy and other goodies with these Easter craft ideas.

Materials:
- Decorative Paper
- Cellophane Bag or Wrap
- Ribbon (Narrower than 5/8" width)
- Ruler
- Scissors
- Glue Stick
- Craft Knife
- Clear Tape
- Cutting Mat
- Circle Cutter
- Double Sided Tape
- Decorative Scissors
Video:
Instructions:
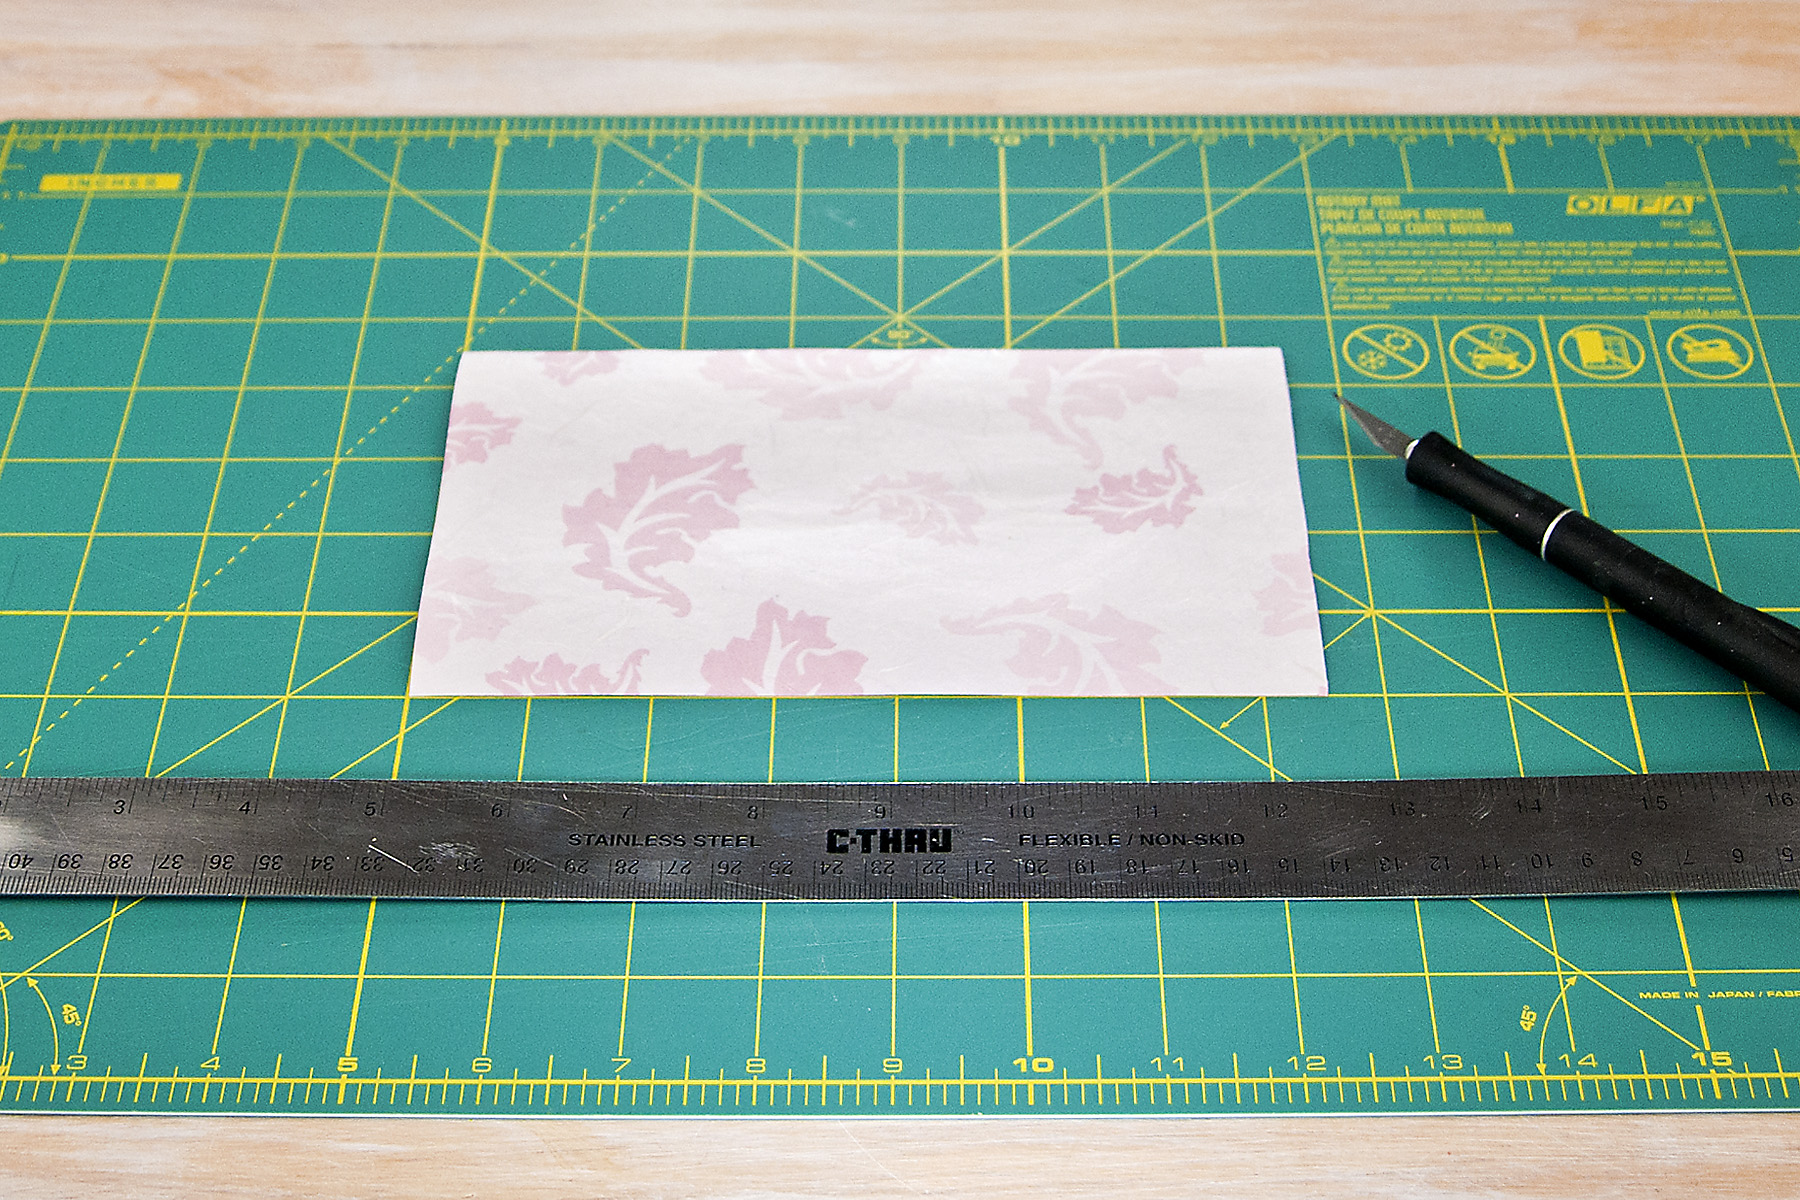
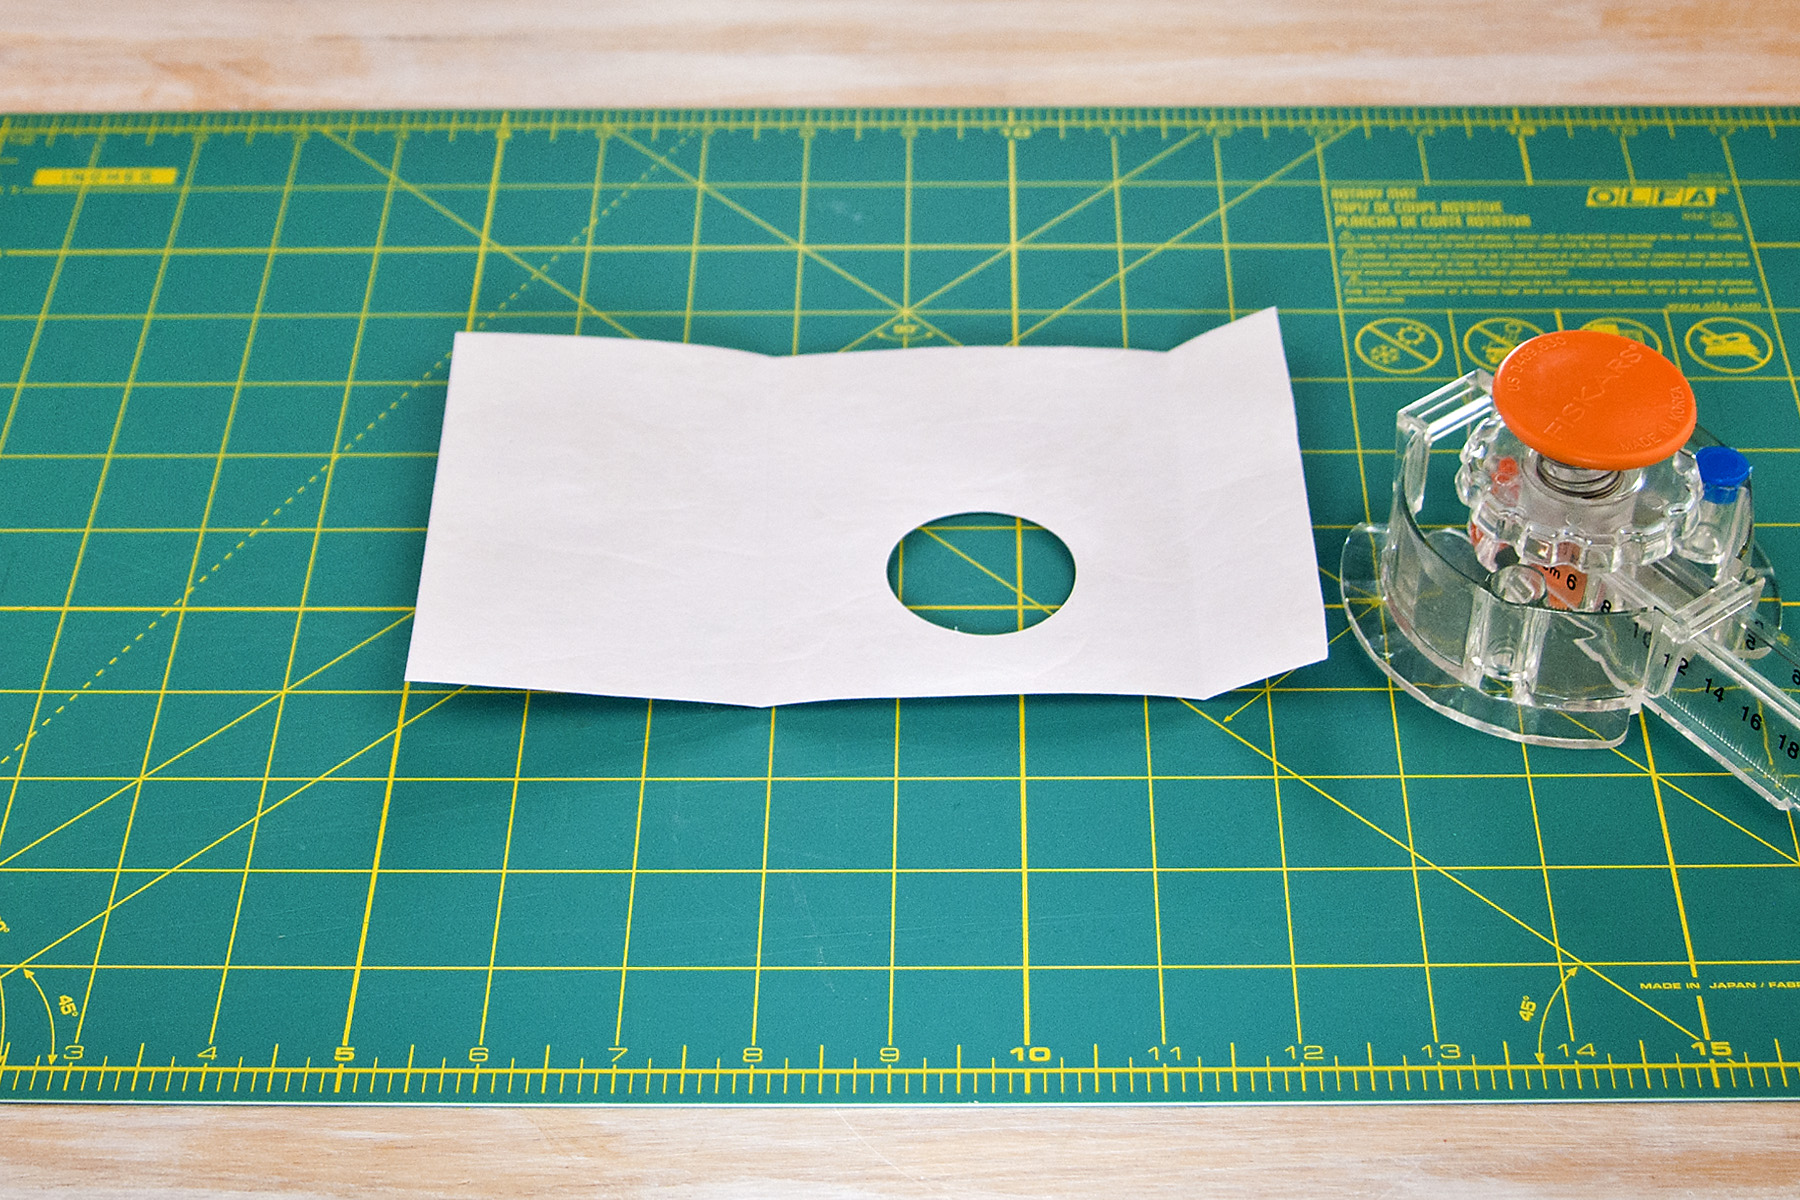
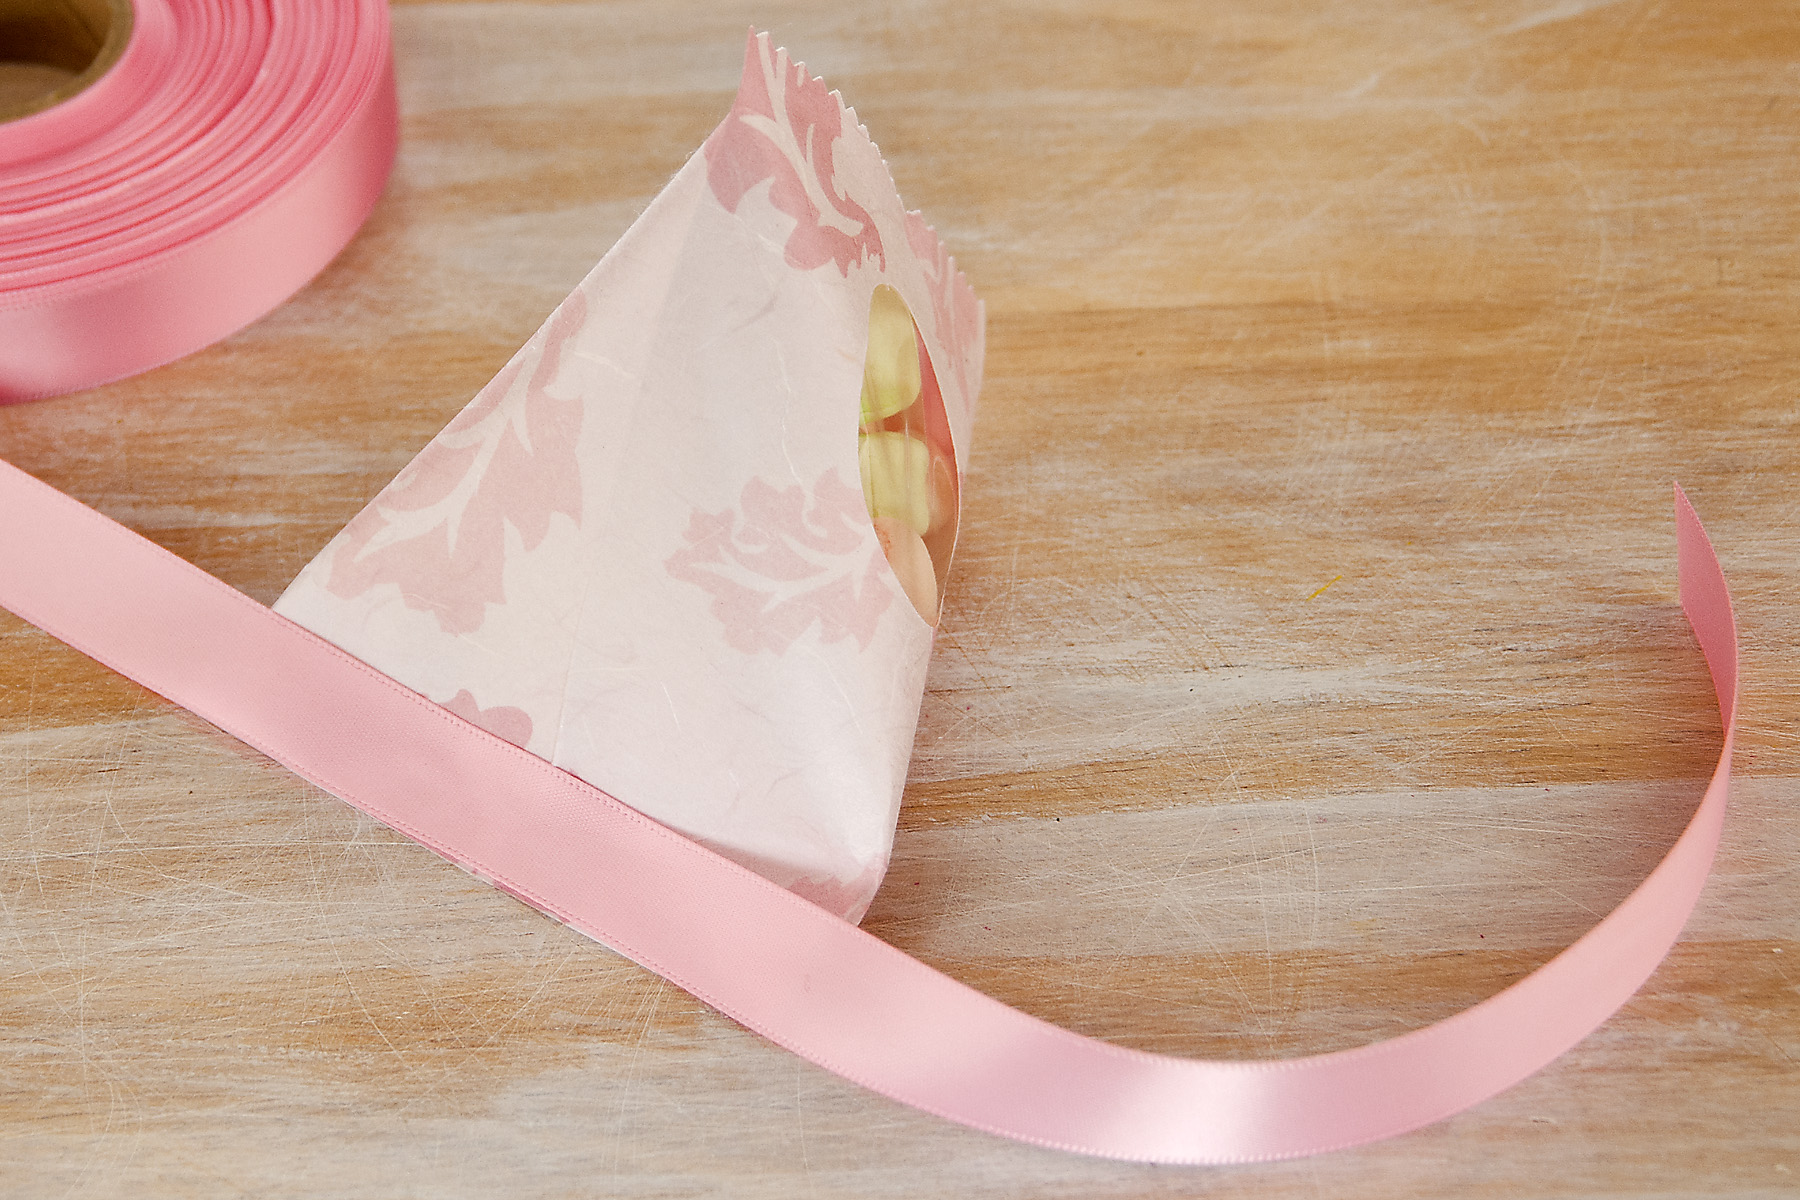
- Cut paper 4.5" x 7.5"
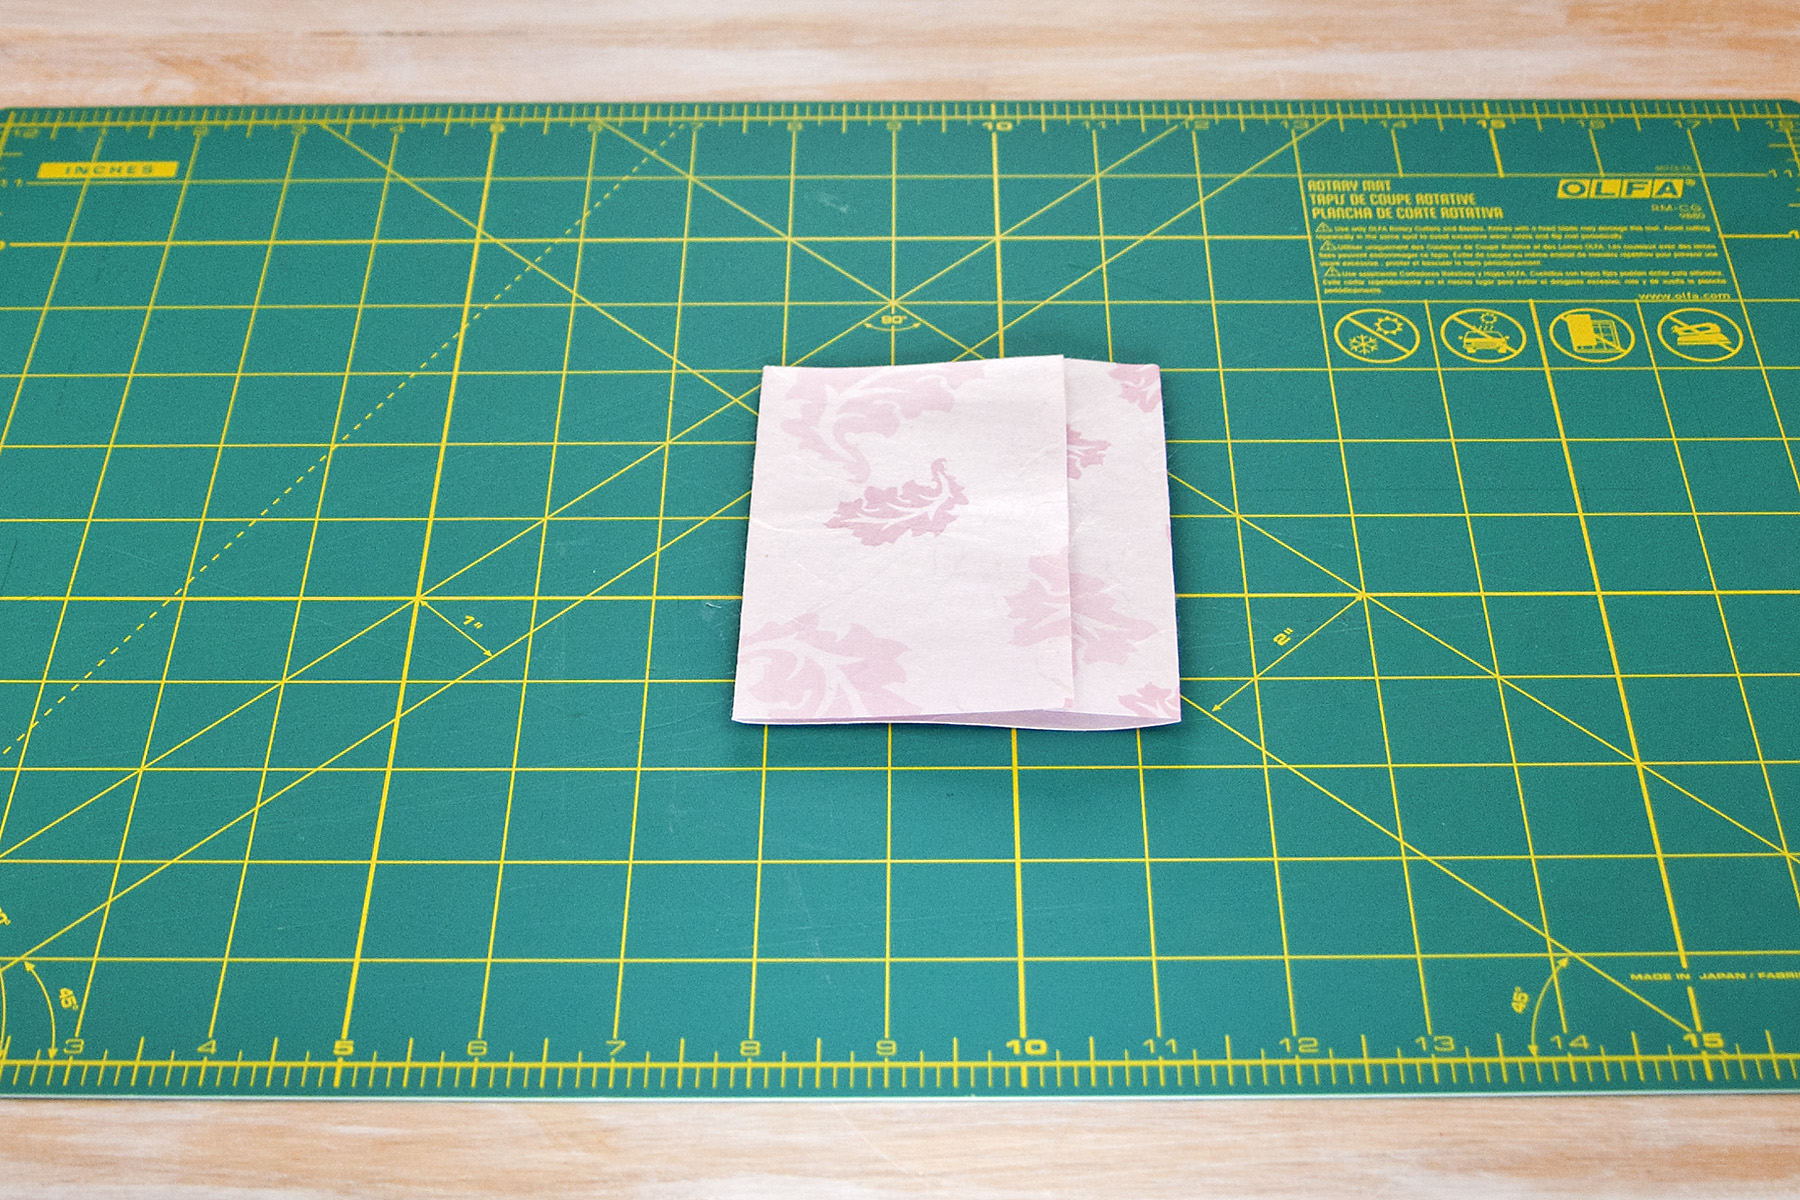
- Place the paper upside down, fold over one of the short ends about 1". Fold the other short end to overlap the first fold about a quarter inch.
- Unfold the paper and cut out a 1.5" diameter circle in the center of the two folds, about 3/4" away from one of the long sides.
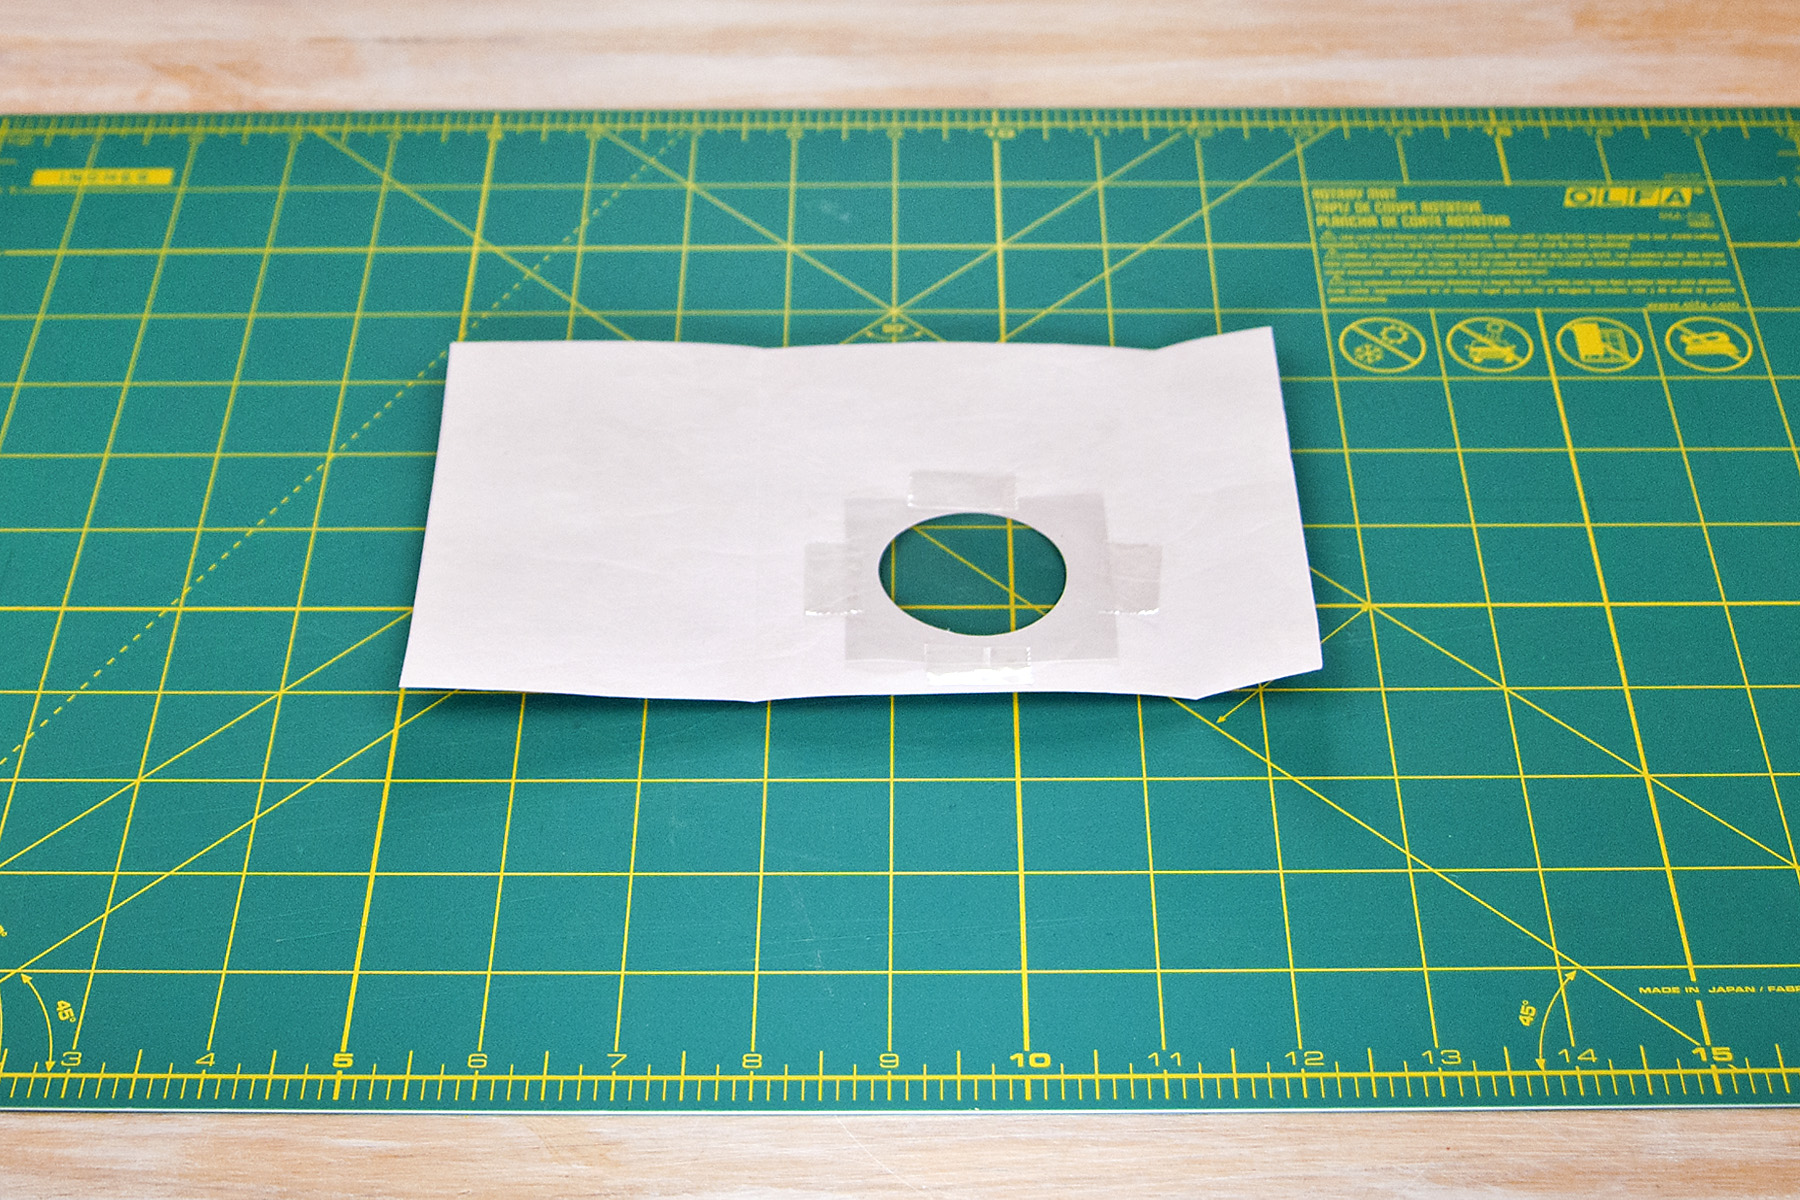
- Cut a square of cellophane a little larger than the circle, cover the circle and tape the sides to secure.
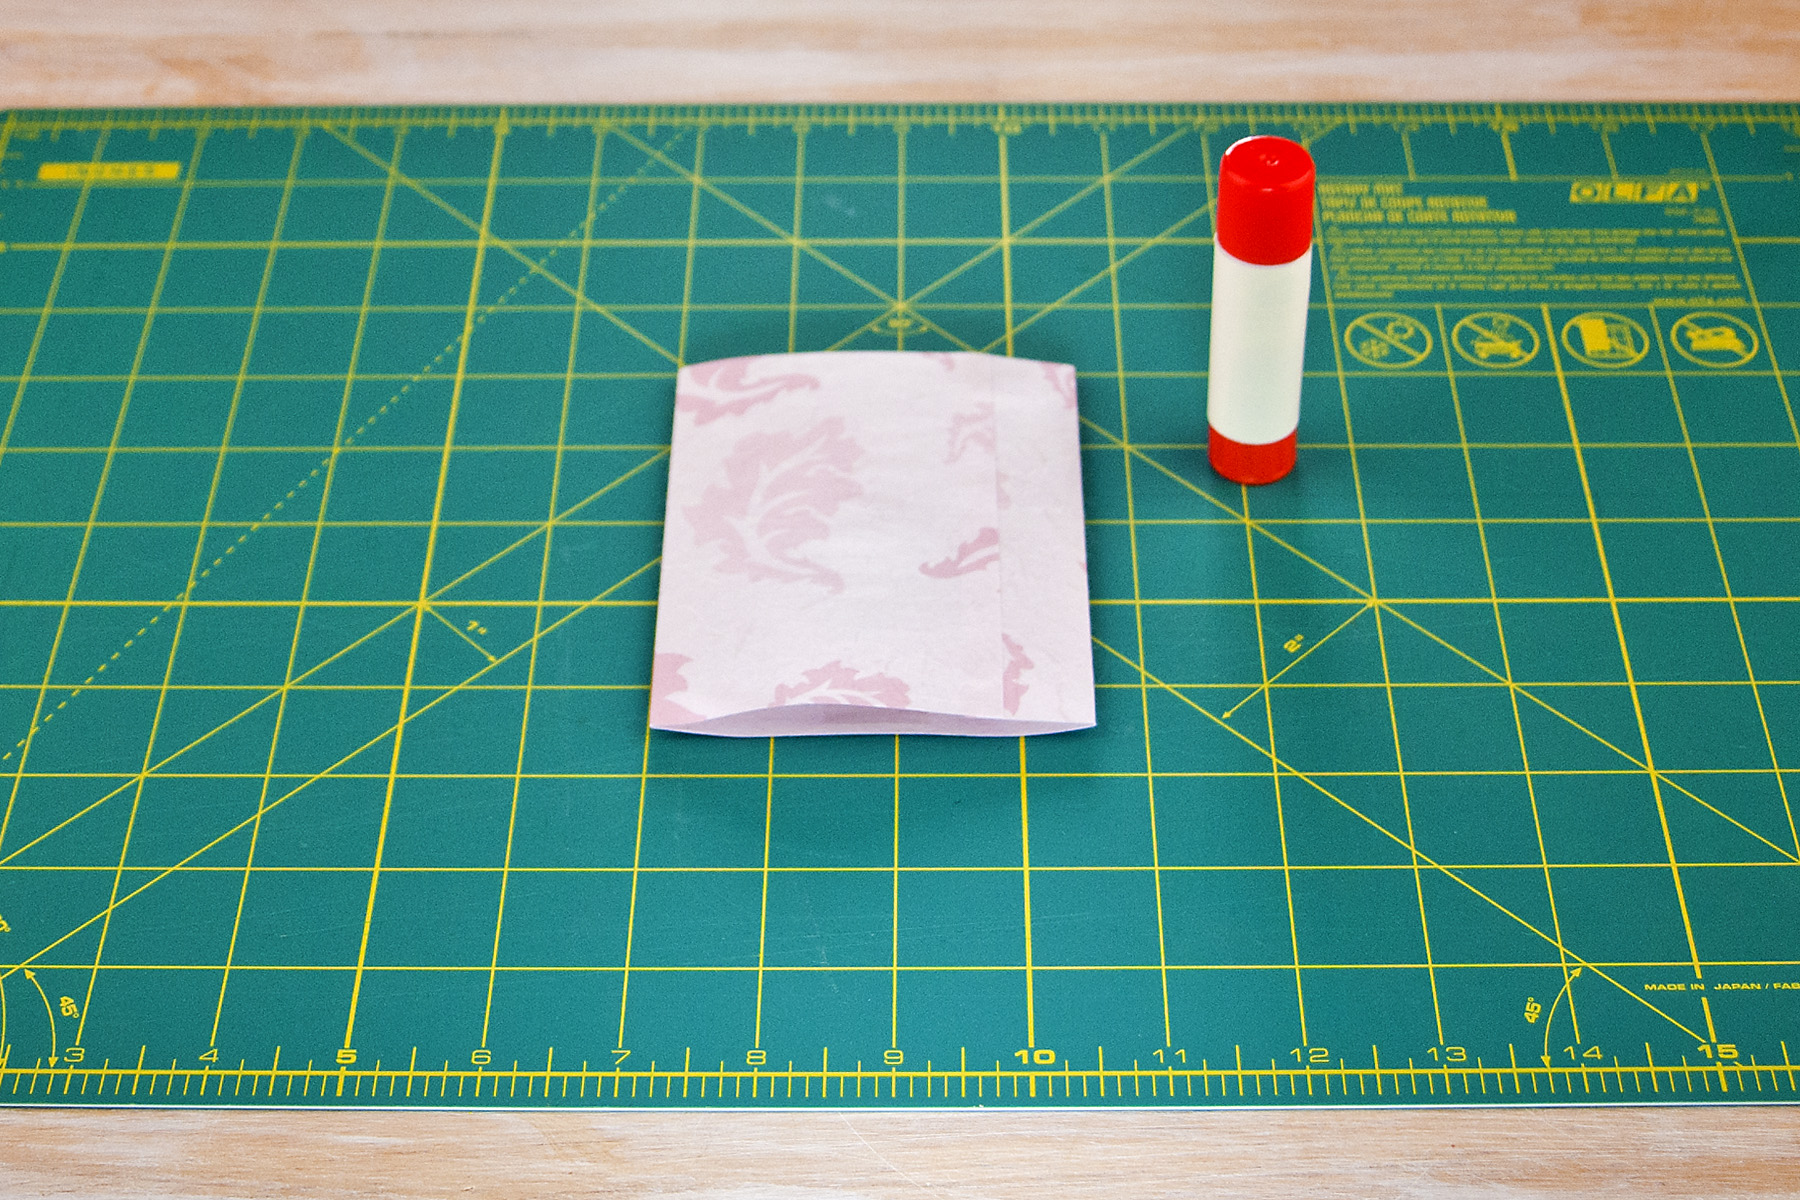
- Refold the paper and seal with glue.
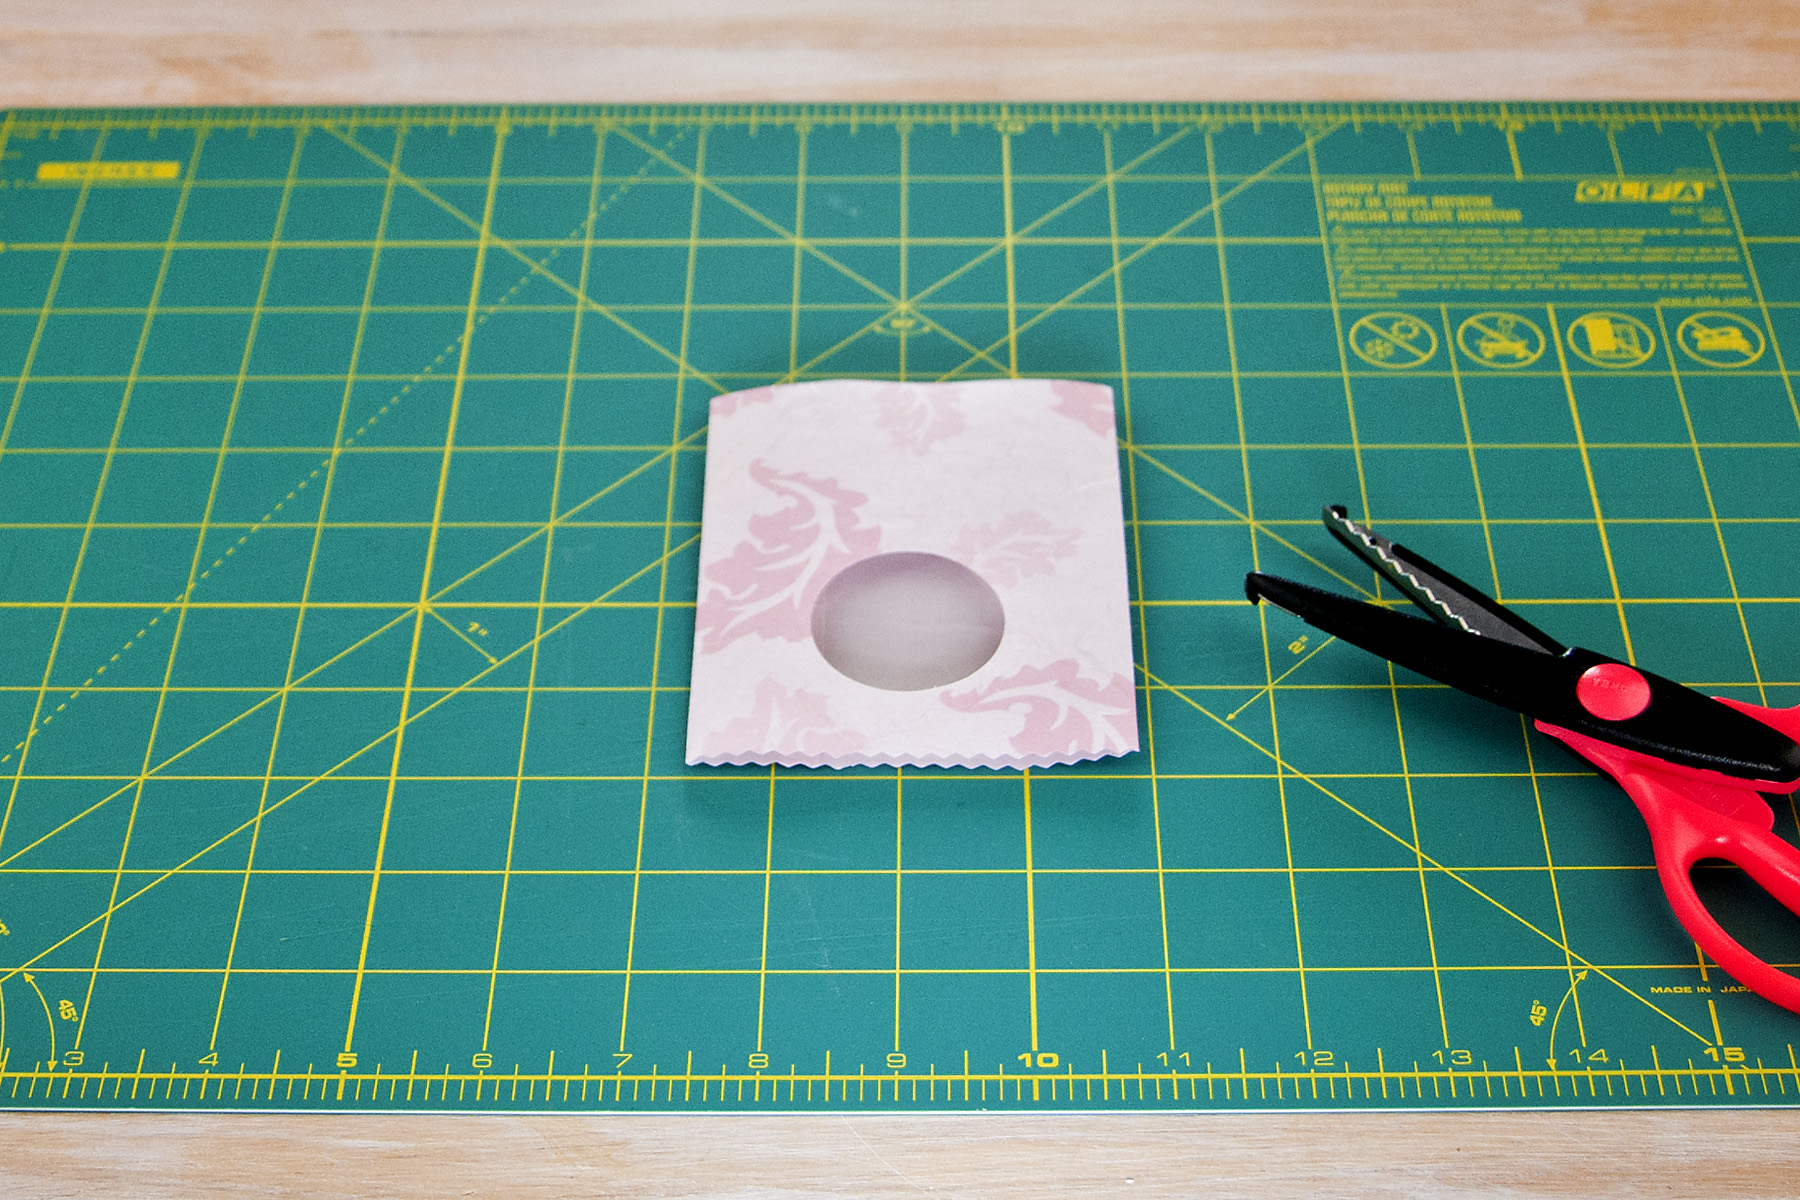
- Trim the bottom of the package with decorative scissors and glue to seal the end. Let glue dry before moving to the next step.
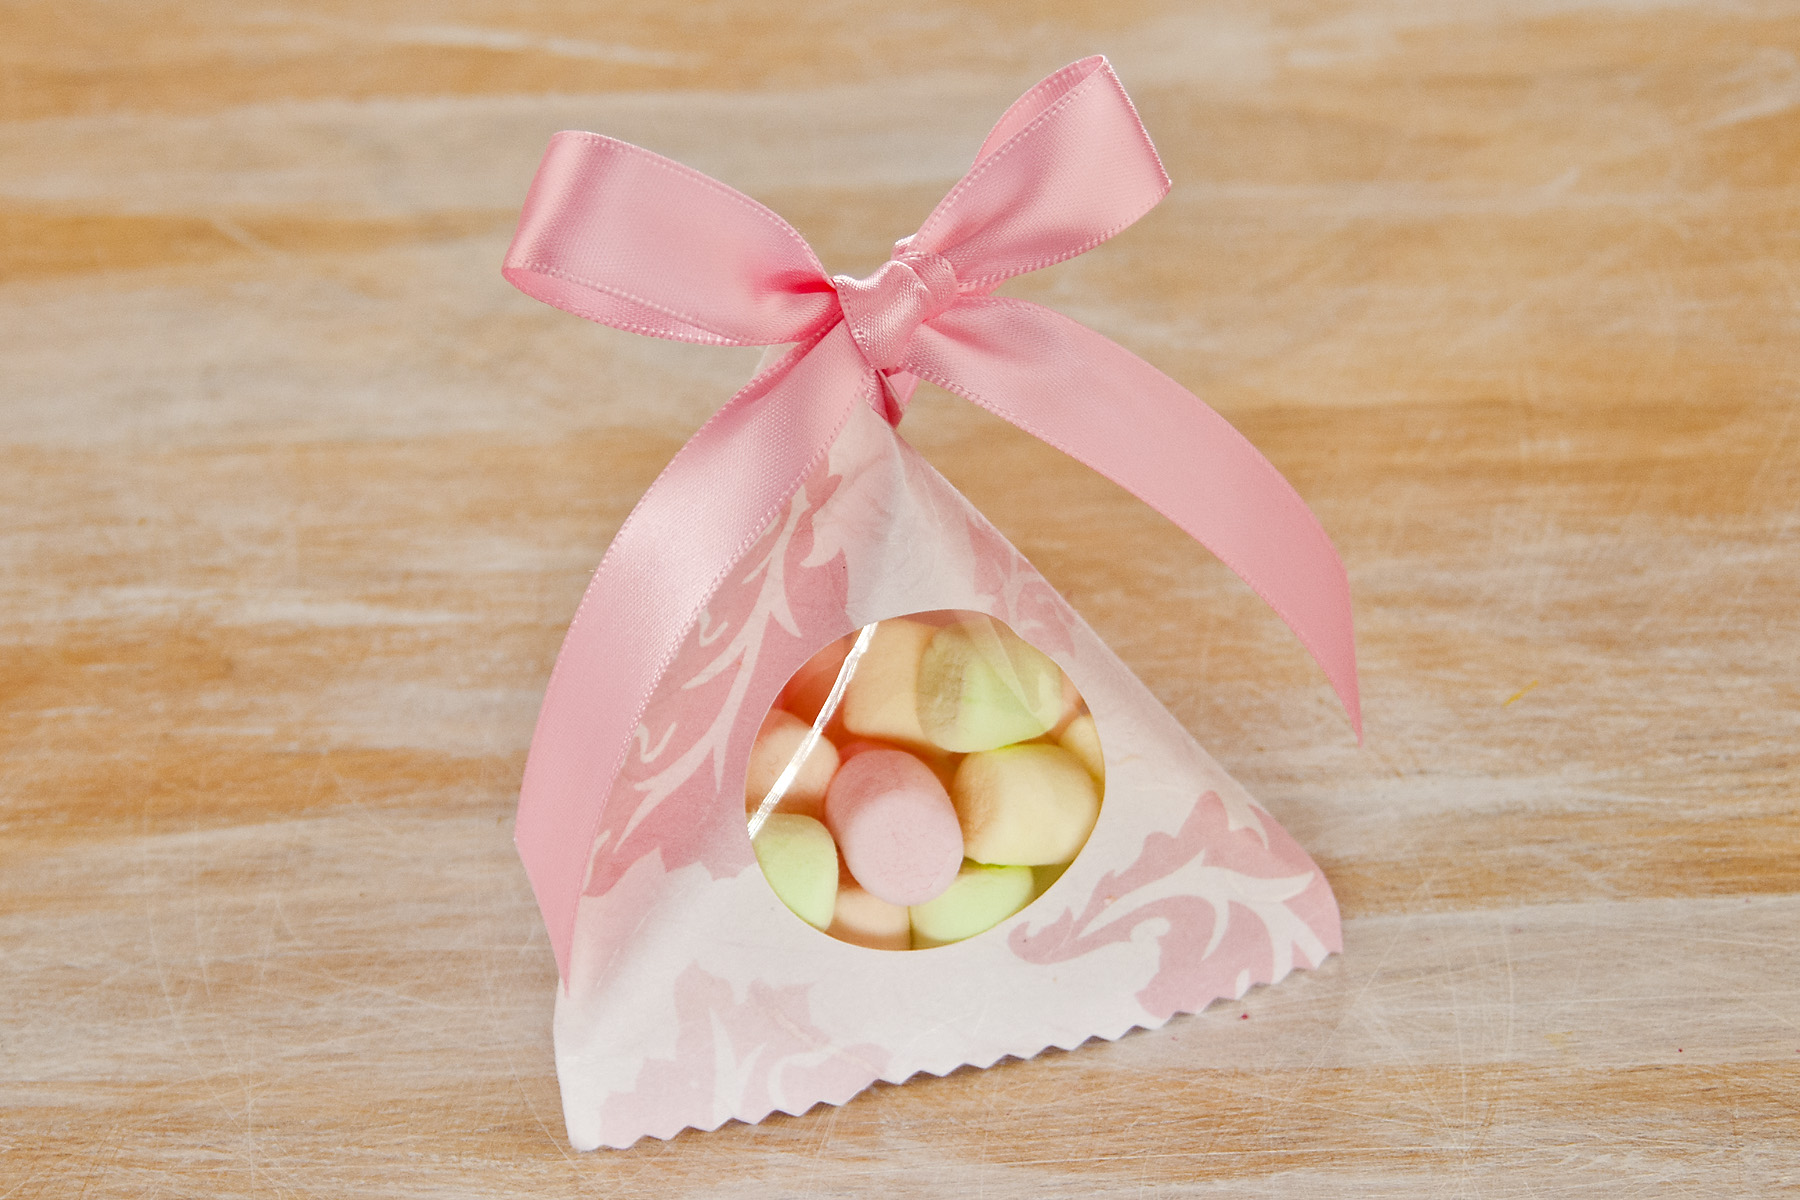
- Fill the bag with sweets and close the bag by pushing the top sides together to form a pyramid shape.

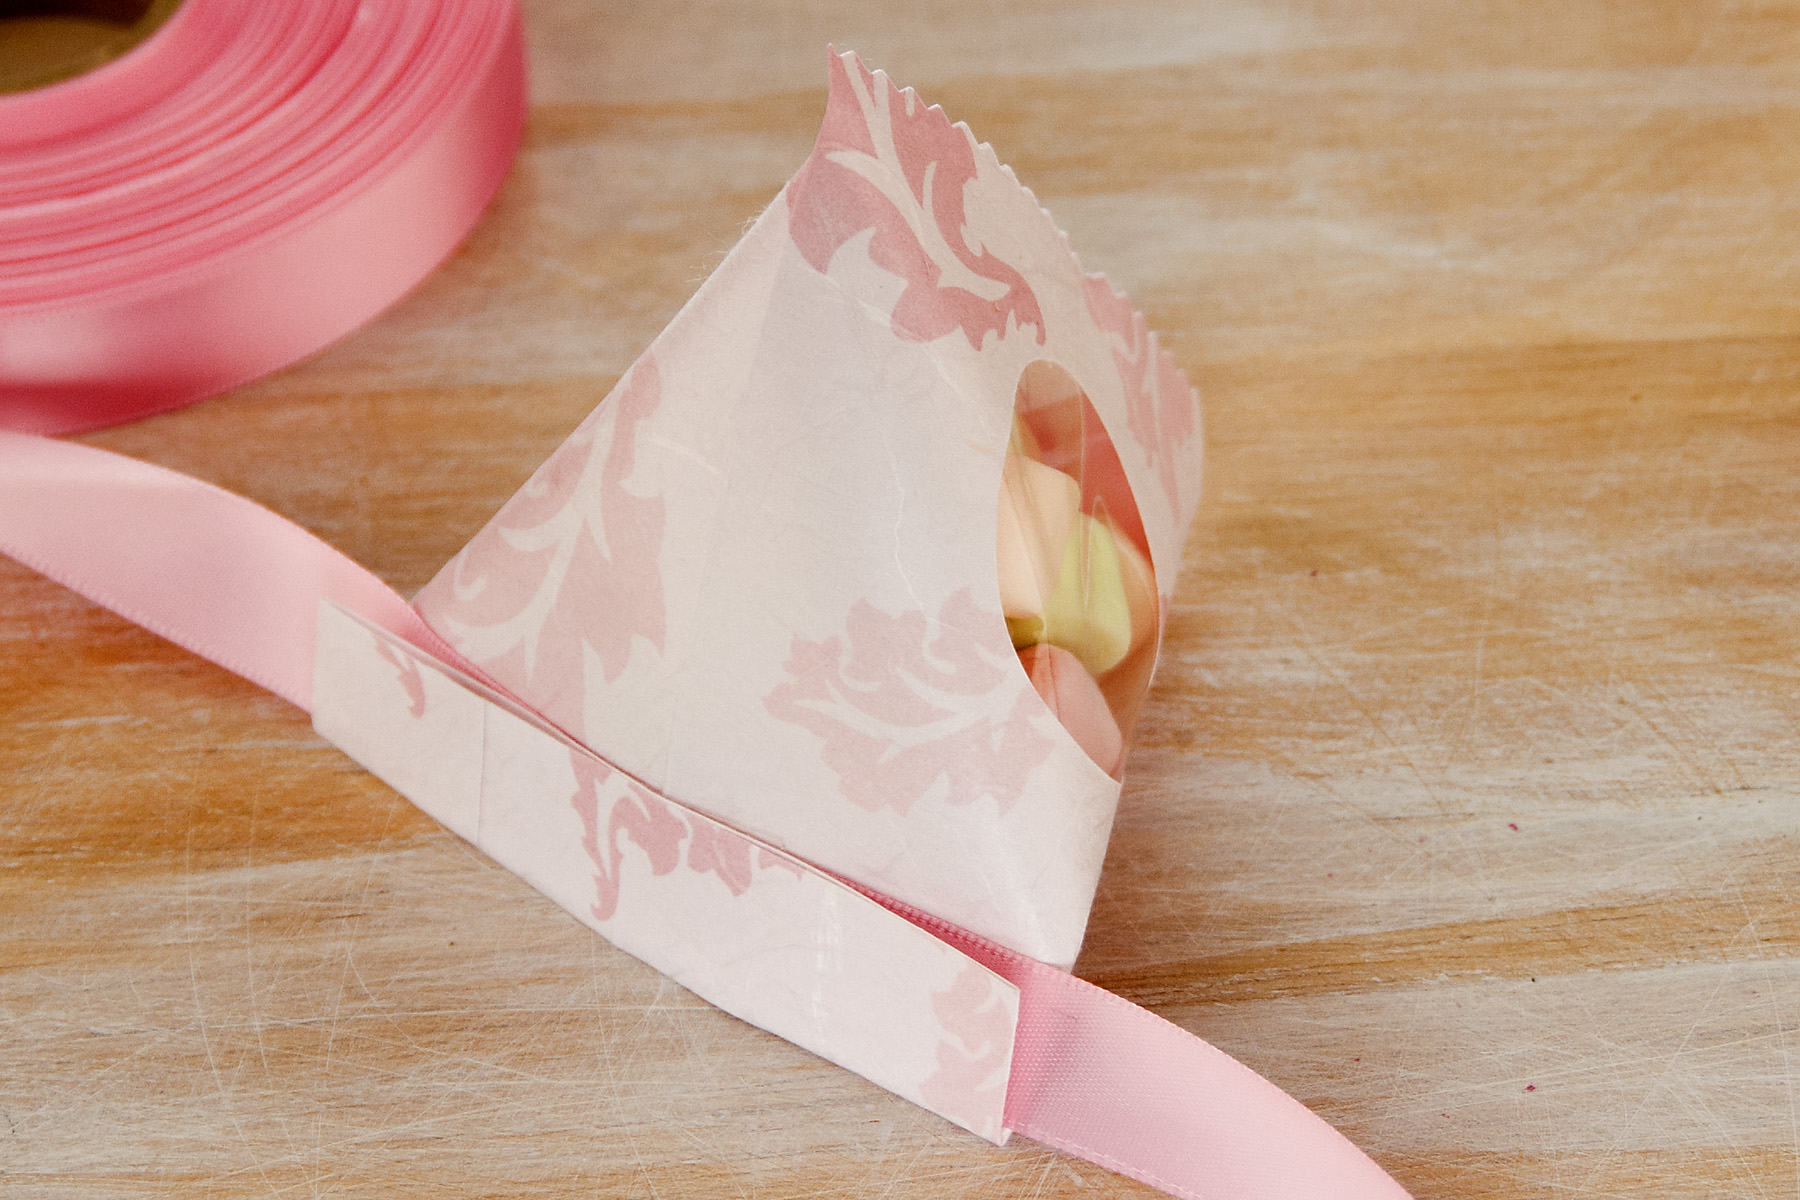
- Place ribbon along the top of the package using double sided tape. Make sure the end of the ribbon is facing the front of the package and there is enough length to tie a bow.
- Place a strip of double sided tape all along the edge of the package and fold the top down to seal.
- Tie a bow on the top of the pyramid and cut the ends at an angle.

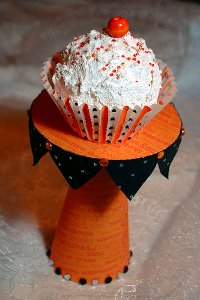
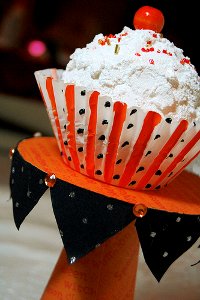
CD Cupcake Stand
By: Alexa Westerfield
Use this recycled CD craft idea from Alexa Westerfield to make a CD cupcake stand. Turn an old CD into a cute stand to hold a single cupcake for your next party.
Materials:
- 1 used CD
- 1 piece of 12" x 12" orange scrapbook paper
- 1 piece of 12" x 12" silver polka dotted scrapbook paper
- Xyron runner or self-adhesive spray
- 1 package self-adhesive rhinestones (I got mine at Michael's in Halloween section)
- 1 small styrofoam cone
- Jack o' Lantern Orange Americana Acrylics paint
- Black Craft Twinkles Writer paint
- Jar of Snow-Tex (4 oz.)
- Glamour Dust Glitter by DecoArt
- White jumbo cupcake holders (mine were from Wilton)
- Medium sized smooth foam ball
- Orange seed beads (mine were an assorted mix)
- Medium sized wooden orange bead
- Glue gun and glue sticks
- Scissors
- Palette knife
- Paper cutter or ruler and exacto knife with cutting board
- Small liner brush
- Pencil
- Kitchen knife
- Scotch tape
Instructions:
For CD cupcake stand:
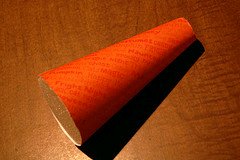
- Take spray adhesive or Xyron runner and coat back of 12" x 12" paper. Wrap paper around cone until tight and secure. Cut off top and bottom of paper around cone.
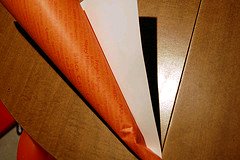
- Lay cd on top of adhesive on remaining 12" x 12" paper and trace with pencil. Cut out with scissors.
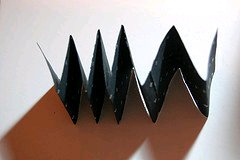
- From the 12" x 12" black paper, cut out two strips 12" long by 2" wide. Lay side by side to form one long strip. Place tape in middle to join the two strips.
- Accordian fold the strips back and forth in approximately 1.5" segments. When finished, cut diagonally on both sides 1/8" down from top of folded strip. Unfold to reveal pennant banner design.
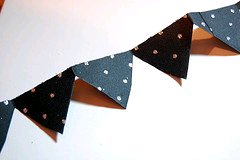
- Carefully glue gun pennant banner around side of CD, and cut off and glue any excess that overlaps.
- Use glue gun to glue top of styrofoam cone to bottom of CD.
- Embellish bottom of stand with black and silver self-adhesive rhinestones, and dot in between pennant sections using orange rhinestones.
For cupcake:
- Using liner brush, paint alternating sections fo the cupcake holder Jack O' Lantern Orange. Let dry.
- Use Black Craft Twinkles to dot in between these alternating stripes as shown. Set aside and let dry.
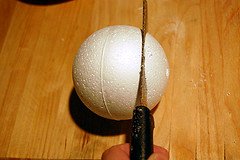
- Cut off the bottom of the foam ball to create a flat surface using kitchen knife or styrofoam cutter.
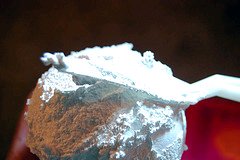
- Add a few drops of water to your bottle of Snow-Tex paint. This will give it a creamier consistency for your "frosting". Frost your cupcake everywhere except for the bottom. While wet sprinkle on beads and gently press into place. Also place wooden ball into place into this wet paint. Sprinkle on Glamour Dust as well over top. Let dry.
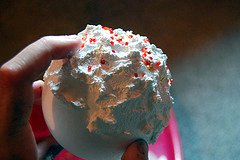
- Once dry, use glue gun to glue cupcake to bottom of paper cupcake holder. Place on top of your finished cupcake stand and admire :) Here's a detail!

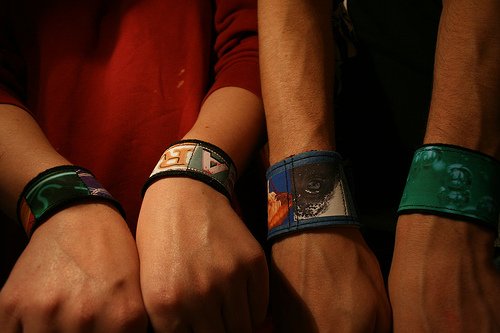
Custom Photo Cuff Bracelets
By: Alexa Westerfield
Keep those you hold dear close to you at all times by making one of Alexa Westerfield's Photo Cuff Bracelets. Make your own, personalized bracelet in less than an hour or make several and give them to your friends as friendship bracelets.

Materials:
- Felt in desired color
- Images (have a theme or use random images)
- Fuseable iron-on inkjet transfer
- Computer with imaging software (I used Photoshop)
- Inkjet printer
- Sewing machine
- Button or fastener of choice (you can also use velcro or sew on snaps)
- Needle and thread
- Scissors or fabric rotary cutting tool
- Cutting mat with measurements
- Iron
- Wax Paper
Instructions:
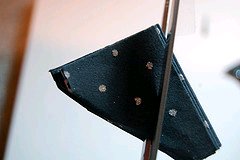
- Cut out a piece of felt fabric approximately 9" long by 1.75 tall. 9" is the average width of most wrists, but may need to be sized differently depending on wrist size.
- In your imaging program, open up several images that you want to make your photo collage. In mine, I chose to use neon signage. Create a document that is 8" long by 1.25" tall. Copy and paste your images into this new document sizing them ownn to be 1.25" tall and arrange next to each other. Move images around until you are satisfied with colors and placement of each. Optional idea: Use Big Huge Labs mosaic maker like my friend Chris did. You may have to scale or enlarge it to fit in Photoshop.
- Using printing specifications, print out onto fusable iron-on inkjet material (you may actually want to create several bracelets up on a sheet so that you get more bang for your buck). Cut out carefully around image.
- Heat iron on low setting. On ironing board or hard surface, lay inkjet transfer iron-on (image side facing up) onto felt. Lay wax paper over both materials and fuse iron-on onto felt. It should only take a few seconds.
- For my design, I went around the actual image using a special stitch on my sewing machine, but this is optional. I just thought it gave it a more finished look. Also, if you want and have the know how and are doing a button closure, create a button hole slightly smaller than your button that you have chosen for a closure.
- Position cuff around wrist and hand sew on button (make sure to wrap cuff around beforehand so that you know where button should be positioned so that it is most comfortable on your arm). Make sure to tightly loop thread around button several times when sewing to hold securely in place. Enjoy!


2 comments:
why are we getting Teri's Crafts newsletter everyday? i really don't care about her newsletter. want to hear from you and whats happening in your life girl. i get way to many other e-mails, but do enjoy yours. so please no everyday of other blogs, sorry about your cat's passing. do you know why or what made the poor soul go? jana
Jana, I write Teri's crafts newletter. I took over her group after she died from cancer.
Post a Comment