Always use your imagination and be creative when building these kids crafts or any others. It's your creation, so be inventive when looking for building supplies — you just may be surprised! When building your project, experiment with new and different ways of putting it together. The most important thing is to have fun.
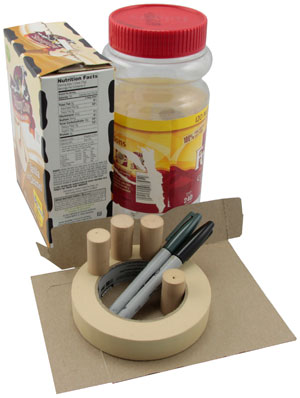
Find these or similar supplies!
• Plastic Container
• Masking tape
• Cork (four pieces) or used toilet paper tubes
• Some old cardboard or construction paper
• Markers or pens for customizing
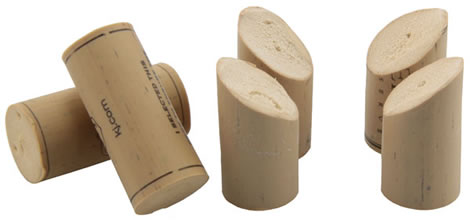
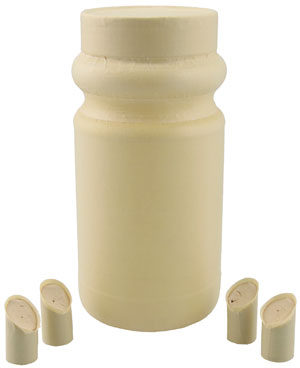
1. Trim your corks!
The first step to making this awesome hippo is trimming the cork legs. You will need to cut the corks at an angle so that the legs will fit on the side of your container. Depending on the shape of your container you may not need to do this.
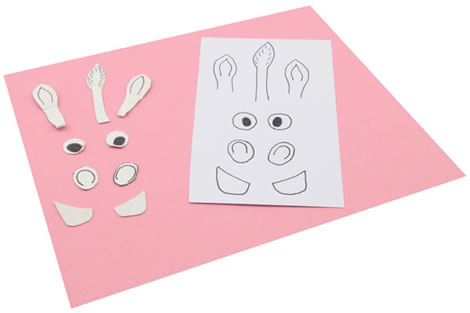
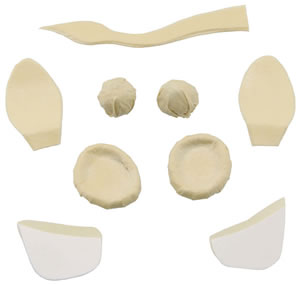
2. Draw out Hippo's body parts!
The next step is drawing out all of your parts. You will need a pair of eyes, nostrils, ears, and two big hippo teeth. Don't forget the tail! Cut these out when you have some designs you like.
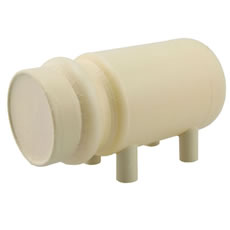
3. Attach Hippo's body parts!
Now you can tape on your eyes, ears, teeth and tail. Try holding up the features to get everything the way you like it.
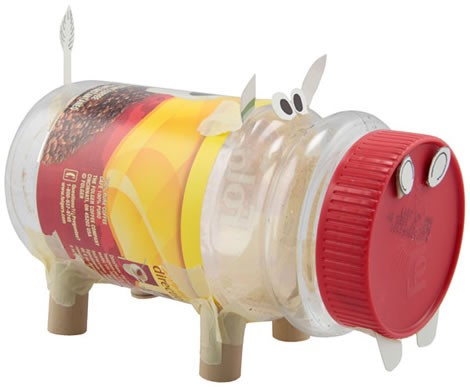
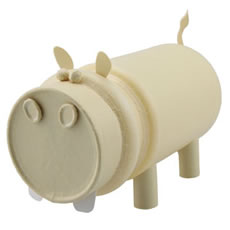
The simple version is complete! This cute hippo is easy and fun to make. From here you can decorate your hippo however you'd like.
4. Ready for the fancy version?
Now for the fancy version! We started out covering everything in a base layer of masking tape. This adds lots of texture to the project.
5. Tape up your body parts!
Next we then covered all the body parts in tape, making them easier to color on later.
6. Attach Hippo's body parts!
After covering everything with tape we put on the legs and face just like the simple version.
 |  |
7. Decorate your Hippo!
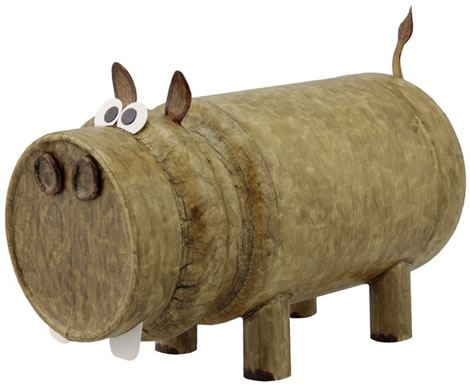
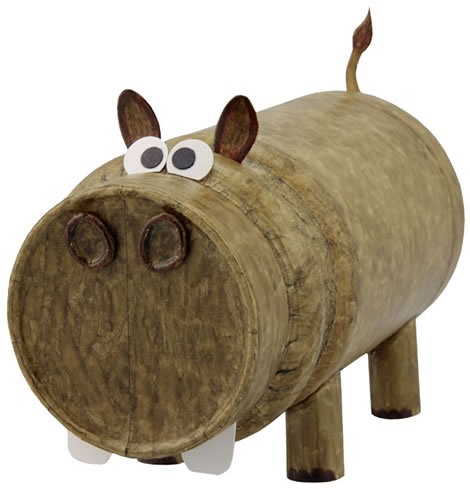
The final step is the most fun... Decorating! We decided to make our hippo have a nice muddy complexion, but you can color your hippo any way you like. Voila! Hogan the Humongous Hippo!

1 comment:
Cute!
Post a Comment